
1. Understanding the Basics of Video Editing
In order to tell a compelling and visually appealing story, video editing includes rearranging and altering individual video clips. It includes activities like cropping videos, creating effects and transitions, modifying colors, boosting audio, and more.
2. Software for Video Editing
To achieve the desired results, it is essential to have reliable and feature-rich software for video editing. Here are the top software options available for video editing, empowering you to unleash your creativity and bring your ideas to life.
- Adobe Premiere Pro
- Final Cut Pro
- DaVinci Resolve
- iMovie
- HitFilm Express
- Sony Vegas Pro
3. Adobe Premiere Pro system requirements
It’s crucial to confirm that your machine satisfies the prerequisites before beginning to edit videos with Adobe Premiere Pro. For the software to operate at its best, it has to have a particular amount of processing power, memory, and graphics capabilities. To find out the precise system requirements for your version of Premiere Pro, visit the official website of Adobe.
4. Adobe Premiere Pro
One can let their creativity run wild and realize their vision with the help of the appropriate video editing software, such as Adobe Premiere Pro. For both beginners and experts, Adobe Premiere Pro stands out as a robust and adaptable video editing program. It has a vast range of features and capabilities, which add to its appeal to content producers all around the world. In this blog, we will discuss how to use adobe premiere pro for video editing.
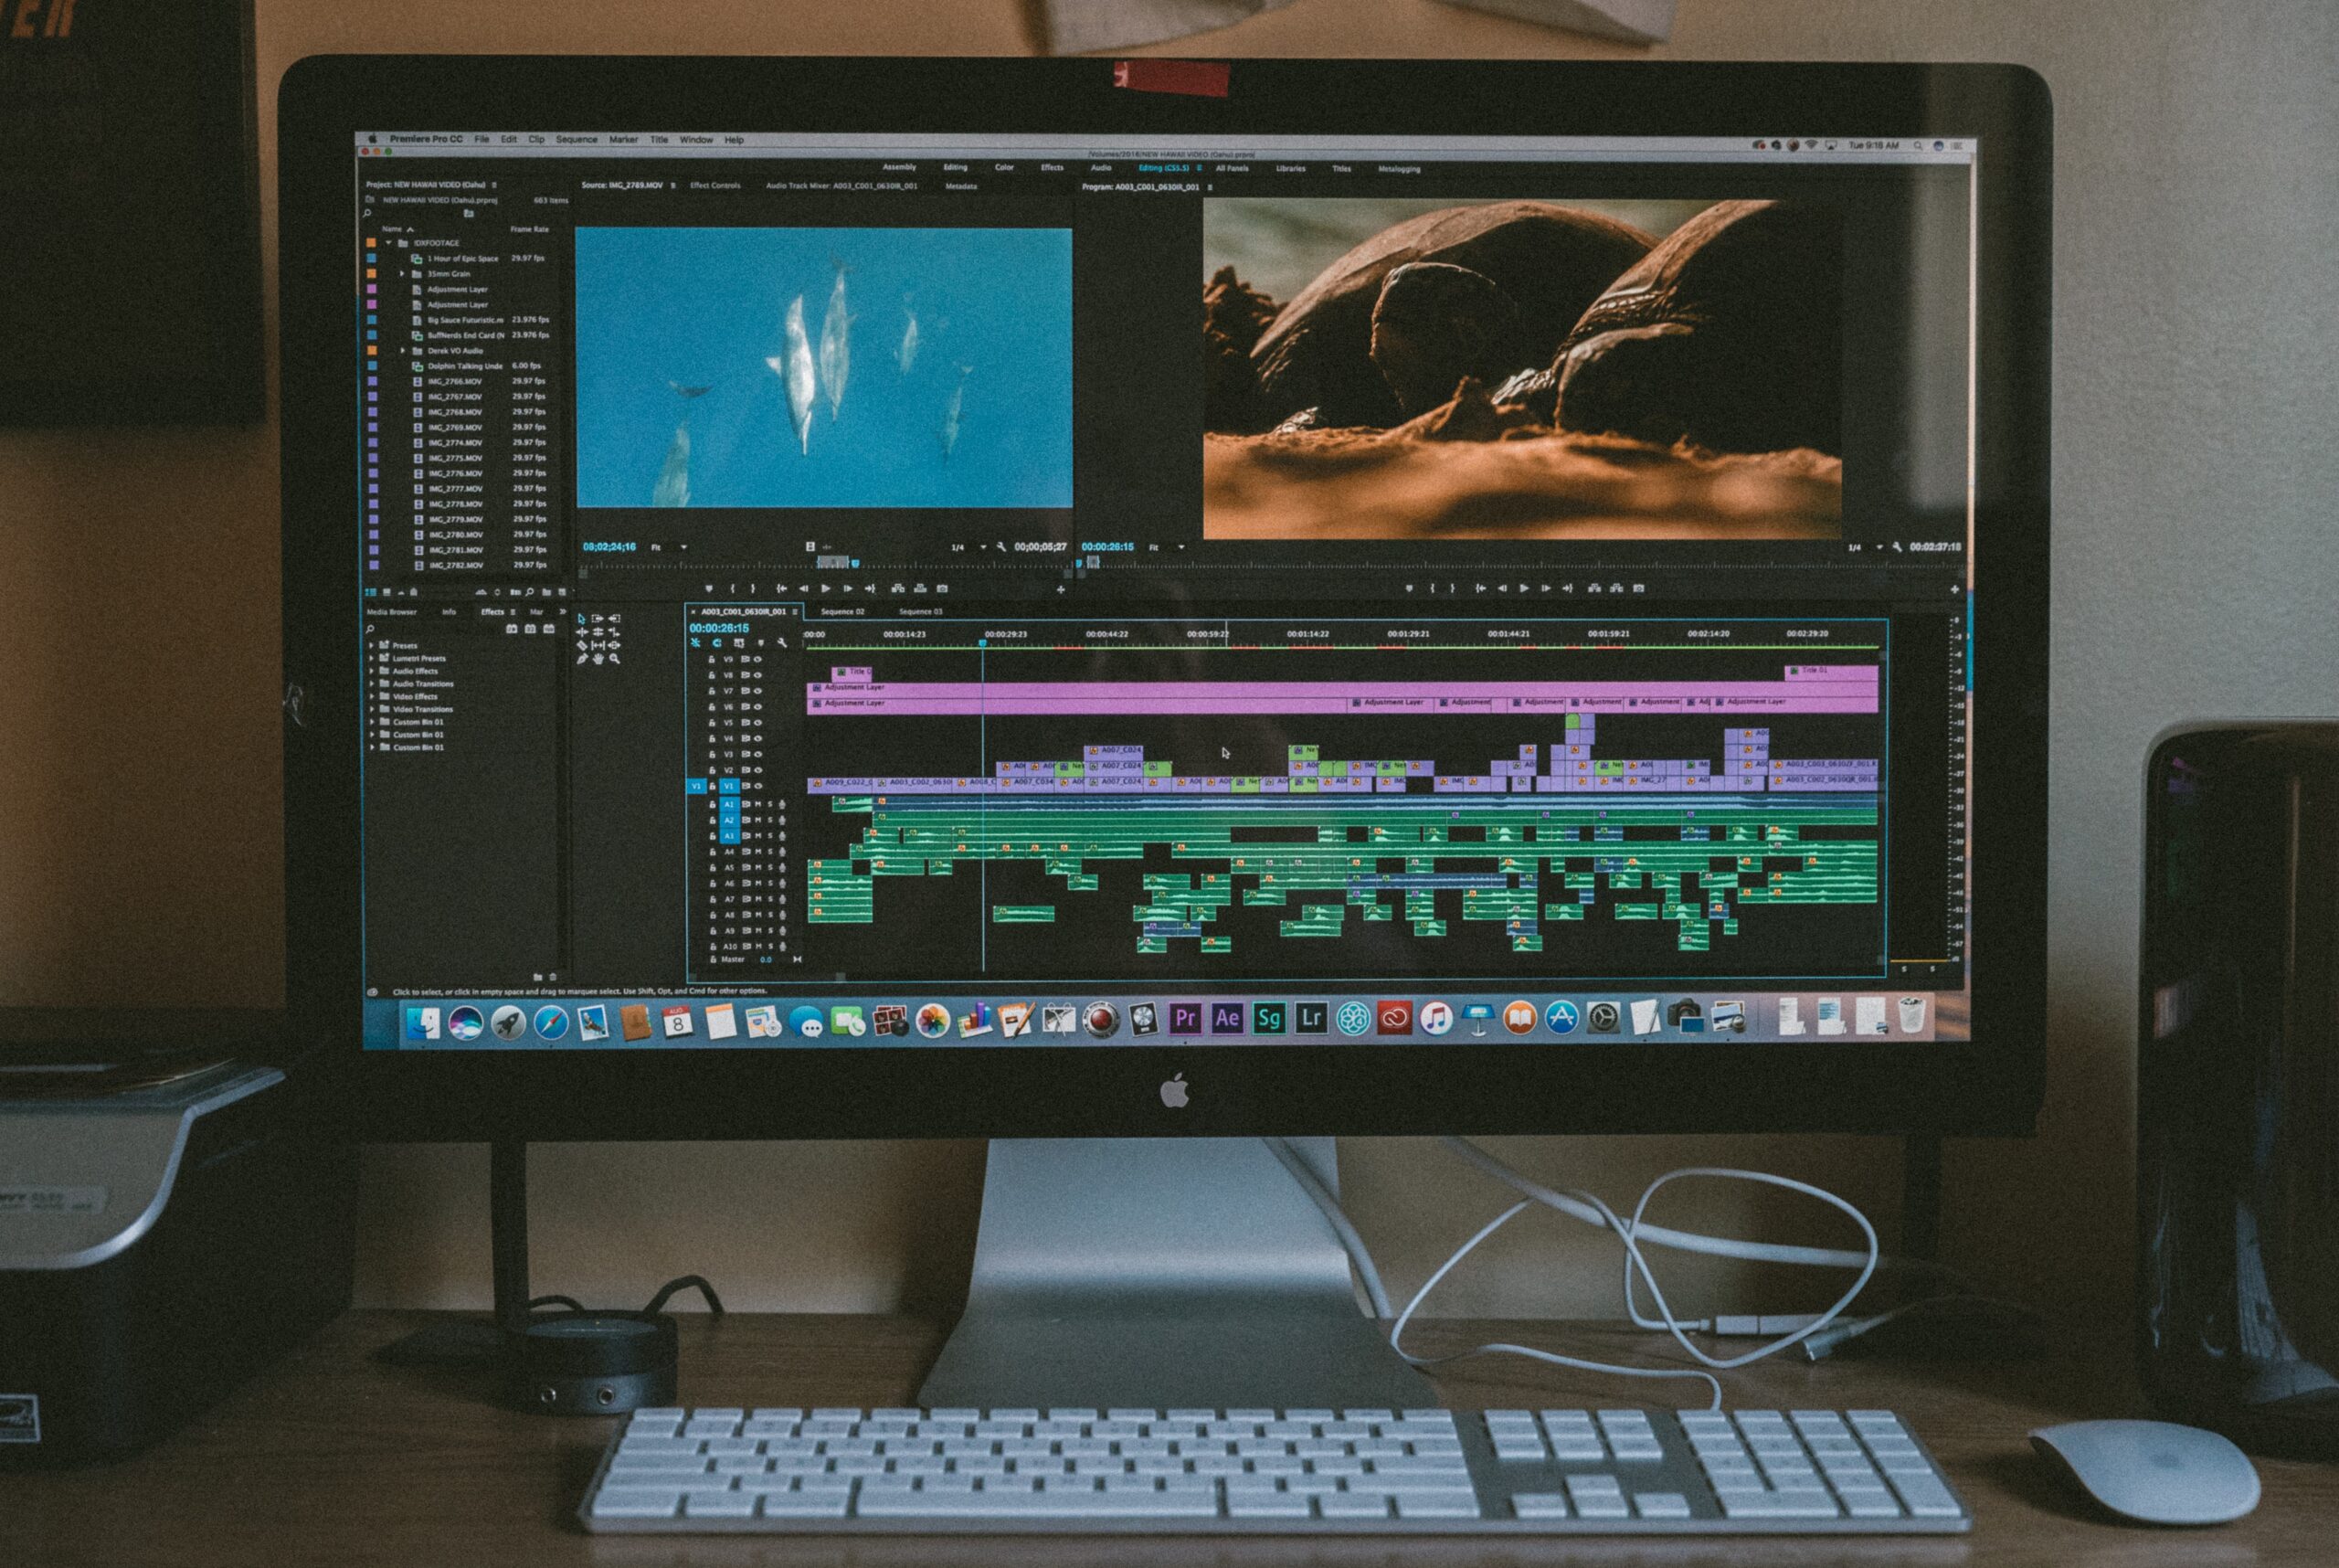
Exploring the Features of Adobe Premiere Pro
- User-Friendly Interface: Users of Adobe Premiere Pro can go easily through the editing process because of its user-friendly interface. People can easily customize the workspace to suit their own needs thanks to the interface’s flexible layout.
- Timeline Editing: An extensive and adaptable editing environment is offered by Adobe Premiere Pro’s timeline editing tool. Directly on the timeline, users may arrange clips, make transitions, and apply effects for quick and accurate editing.
- Advanced transitions and effects: Adobe Premiere Pro gives users the tools they need to give their videos a professional look thanks to its extensive collection of effects and transitions. The software gives countless options for boosting the visual attractiveness of any clip, from modest color grading modifications to complex visual effects.
- Color grading and correction: Users of Adobe Premiere Pro can modify the hues and tones of their videos using the program’s robust color grading and correction capabilities. Content producers may get their projects to appear and feel exactly how they want by carefully controlling brightness, contrast, saturation, and other factors.
- Audio Editing and Mixing: Adobe Premiere Pro excels at audio editing and mixing in addition to video editing. To properly match their graphics, users can improve audio quality, remove background noise, and produce a well-balanced audio mix.
- Graphics & Title Design: The software comes with a variety of tools for designing titles and visuals, allowing users to give their films polished text and visual features. The stunning visual narrative made possible by Adobe Premiere Pro includes animated intros and lower thirds.
- Integration with Other Adobe Software: Premiere Pro easily connects with other Adobe programs because it is a component of the Adobe Creative Cloud package. With the use of extra products like Adobe After Effects for sophisticated motion graphics or Adobe Audition for audio post-production, customers can improve their workflow thanks to this connectivity.
- Teamwork and Sharing: The collaborative editing feature in Adobe Premiere Pro enables numerous people to collaborate on the same project at once. Additionally, the software offers a variety of export choices, making it simple to distribute the finished movie across platforms and formats.
5. Getting Started with Video Editing on PC
To start your video editing journey with Adobe Premiere Pro on a PC, follow these essential steps:
- Installation and Setup: Download and install Adobe Premiere Pro from the official Adobe website. Launch the software and familiarize yourself with the user interface and layout.
- Setting up a new project: To begin editing videos with Adobe Premiere, open a new project. Send off the product and explore the “File” menu, where you’ll track down the choice to make another undertaking. When you click on it so a window will open in which you can choose the aspect ratio, frame rate, and resolution for the project. Proceed to the following step after selecting the settings that meet the needs of your video.
- Importing files: After you have set up your project, the next step is to import the files that are needed. Adobe Premiere permits you to one or the other import or drags the intro and video record straightforwardly into your undertaking. By choosing the suitable choice, you can consistently bring your media resources into the altering point of interaction. It’s critical to make sure your video’s audio volume is right. If fundamental, utilize the given controls to change the volume and assurance an ideal sound encounter.
- Adding captions: Captions significantly improve your videos’ accessibility and engagement. To embed subtitles in Adobe Premiere, explore the “Text” board and pick the ideal subtitle style. The captions can then be positioned on the video timeline and customized to match the style of your video. Captions ensure that your message reaches a wider audience and provide useful context.
- Adding Royalty-free music: The mood and tone of your video are set by the music, which is an essential component. You can directly incorporate royalty-free music from the YouTube audio library into your project with Adobe Premiere. Peruse the broad assortment of tracks, select the one that reverberates with your video, and put it on the soundtrack. Make sure to change the music volume to guarantee an ideal offset with the other sound components in your video.
- Incorporating royalty-free music and video: To make your video all the more outwardly engaging, you can improve it by consolidating royalty-free videos and pictures. Stages like Pexels.com offer an immense library of excellent film and pictures that can be flawlessly coordinated into your Adobe Debut project. By bringing in these resources, you can add profundity, assortment, and visual interest to your video, catching the consideration of your crowd.
- Editing the video: To edit and improve your video, Adobe Premiere provides a comprehensive set of tools. To improve the overall visual experience, you can apply effects, trim and rearrange clips, and remove unnecessary pauses. In addition, you can tailor the video to your creative vision by altering its size and color. Try different things with various altering methods to draw out the best in your recording, guaranteeing a clean and proficient final product.
- Adding outro and contact info: Include an outro in your video to give it a proper conclusion. Adobe Debut empowers you to embed an outro at the close of your video flawlessly. Create an outro that conveys your video’s main message and provides a seamless transition for viewers. Besides, you can add a contact data ticker to guarantee that your crowd can connect with you or visit your site for more data.
- Implementing call to action: An integral asset for getting your watchers to make explicit moves subsequent to watching your video is a source of inspiration. A thoroughly examined source of inspiration can essentially affect your video’s prosperity, whether it’s getting individuals to buy into your channel, make a buy, or visit your site.
- Exporting final video: After you have perfected your video, the next step is to export it so that it can be shared on sites like YouTube. Adobe Premier offers an assortment of commodity settings to assist you with benefiting from your video as far as quality and record size. Click the product button to activate the appropriate commodity settings and result arrangement. Adobe Premiere will deliver and create the final video file, which can then be uploaded to your YouTube channel or another platform of your choice.
6. Exploring Free Download Options:
If you’re new to video editing or looking for cost-effective solutions, there are free download options available. Adobe offers a free trial of Premiere Pro, allowing users to explore its features and capabilities before making a purchase.
Conclusion:
We looked at the world of video editing with Adobe Premiere in this article. We went over the essential steps to making captivating videos, from setting up a new project to exporting the final video. Both novices and experts can create high-quality content thanks to Adobe Premiere’s user-friendly interface and advanced features. By following the means illustrated in this article, you can open your imaginative potential and convey great video projects.